Spring Gear Audit: The Math on Pre-Season Maintenance

Look, let's be real: the second the snow starts melting, your inbox is suddenly flooded with "Spring Gear Upgrade" sales. Every outdoor brand wants you to believe that the only way to hike this season is with their new, ultra-light, eco-chic synthetic jacket that probably breaks down faster than you can say "planned obsolescence."
I've spent years auditing supply chains and calculating the true carbon logistics of travel, and here's the unavoidable truth: the most sustainable piece of gear you can own is the one already sitting in your closet. The carbon cost of manufacturing, shipping, and packaging a new "sustainable" backpack almost always outweighs the environmental benefit of simply patching the hole in your old one. The math just doesn't add up on buying new if you can fix what you have.
Before you drop half a paycheck on a pristine new setup, it's time for a field audit. Here is a pragmatic, zero-fluff breakdown on pre-season gear maintenance, what to fix, and when safety actually dictates a replacement.
The 10-Point Field Audit
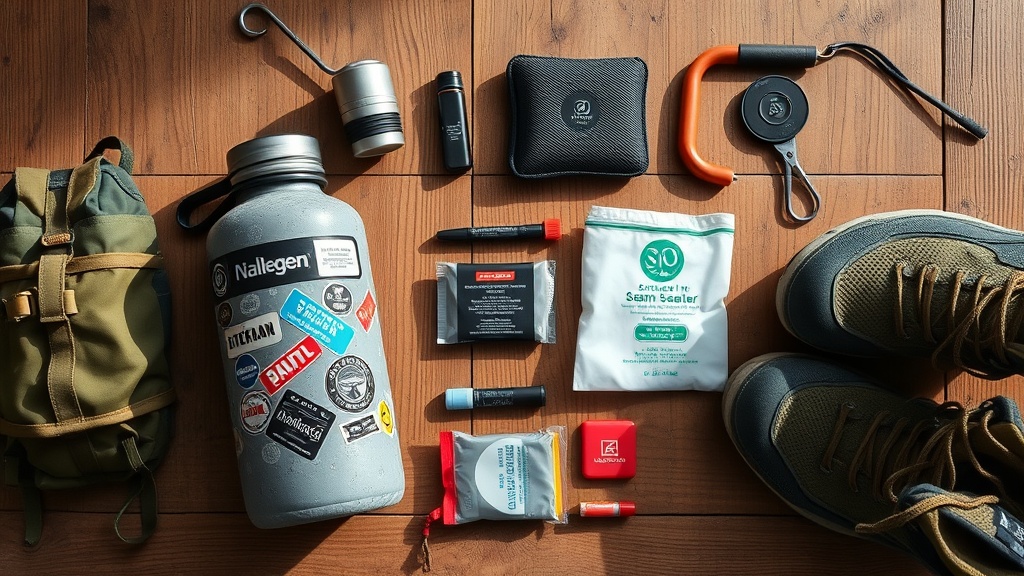
Treat your gear check like a logistics operation. Empty everything out onto the floor—yes, including that crushed energy bar wrapper from October—and run through this checklist.
- Boot Tread & Midsoles: Are the lugs worn completely flat? If the upper is still solid, send them to a local cobbler for a resole. It's significantly cheaper than a new pair of hiking boots and keeps heavy materials out of a landfill. But if the EVA foam midsole is fully compressed and feels like concrete, your knees will pay the price. That's a safety replacement.
- Pack Zippers: A blown zipper doesn't mean a dead backpack. 90% of the time, the slider just needs to be crimped tighter with pliers or replaced completely. It takes five minutes and costs about three dollars.
- Seam Tape & Waterproofing: Is your tent's rainfly flaking white residue? That's delamination. You can scrub it off and apply a fresh coat of polyurethane sealant. It's tedious, but the math checks out on saving $300.
- Hydration Systems: Scrub out your reservoirs with baking soda and a dedicated brush. If you're like me and carry a battered 32oz Nalgene (my beloved "Tank"), just make sure the silicone O-ring in the cap hasn't dry-rotted.
The True Cost of "Upgrading"
Data from programs like Patagonia's Worn Wear shows that keeping a piece of clothing in use for just nine extra months reduces its related carbon, water, and waste footprints by 20-30%.
We get caught up in the aesthetics of pristine gear. But out on the trail, nobody cares if your puffy jacket has a strip of tenacious tape holding in the down. In fact, it just means you actually use your stuff. Stop falling for marketing fluff that tells you to throw away perfectly good gear just because it doesn't look like an Instagram ad. (And while we're on the subject of avoiding useless eco-marketing, check out my audit on why you need to stop buying 'eco-friendly' travel minis).
Field Repairs vs. Professional Services
Know your limits. I am perfectly comfortable patching a sleeping pad in the Oregon backcountry, but I am not sewing a structural load-bearing strap back onto a 65-liter pack myself.
If a failure could compromise your safety or leave you stranded, pay a professional. Many brands offer lifetime warranties and repair services—use them. Support local gear repair shops. It's a pragmatic choice that supports local economies and keeps your gear out of the trash.
The Vibe Check
Spring is about getting back outside, not running a fashion show. Clean your gear, seal your seams, patch your puffies, and go hit the dirt. Save your budget for the actual trip, maybe a post-hike beer, and definitely an Amtrak sleeper car ticket to somewhere second-tier and uncrowded.
Adventure more, footprint less. No guilt trips included.