Basecamp Logistics: The Math on Building Cedar Raised Beds Under $200

Look, let's be real: planting your spring vegetables directly into compacted, nutrient-dead suburban dirt is a logistical failure before you even put a seed in the ground. I've audited enough failing backyard gardens to know the symptoms: poor drainage, rampant weeds, and root systems that hit clay and immediately give up.
Raised garden beds aren't just a Pinterest aesthetic. They are critical infrastructure for your basecamp's food supply chain. They drain efficiently, warm up faster in spring, and stop you from destroying your back. But the minute you decide to build one, you'll be hit with targeted ads for $300 "eco-chic" prefab kits that are nothing more than thin wood and heavy marketing fluff.
The math doesn't add up on those kits. Instead, here is a pragmatic, BS-free logistical guide to building a heavy-duty, 4×8-foot cedar raised bed this weekend for under $200.
The Material Supply Chain
Do not use pressure-treated lumber. Yes, modern ACQ treatment is supposedly safer than the old arsenic-heavy CCA wood, but I am not introducing chemical variables into a system designed to feed me.
We use untreated cedar. It contains natural tannins that resist rot. A cedar bed lasts 10–15 years untreated. Pine is cheaper upfront, but you'll be tearing it out in three years. Do the math: cedar wins the lifecycle audit.
The Bill of Materials (for one 4×8 bed, 11 inches deep):
- Three 2×12×8 cedar boards (get the actual 8-footers)
- One 4×4×8 cedar post (for corner anchors)
- 1 lb box of 2.5-inch stainless steel or exterior-coated deck screws
- Heavy-duty cardboard (skip the plastic weed barrier)
The Build Operation
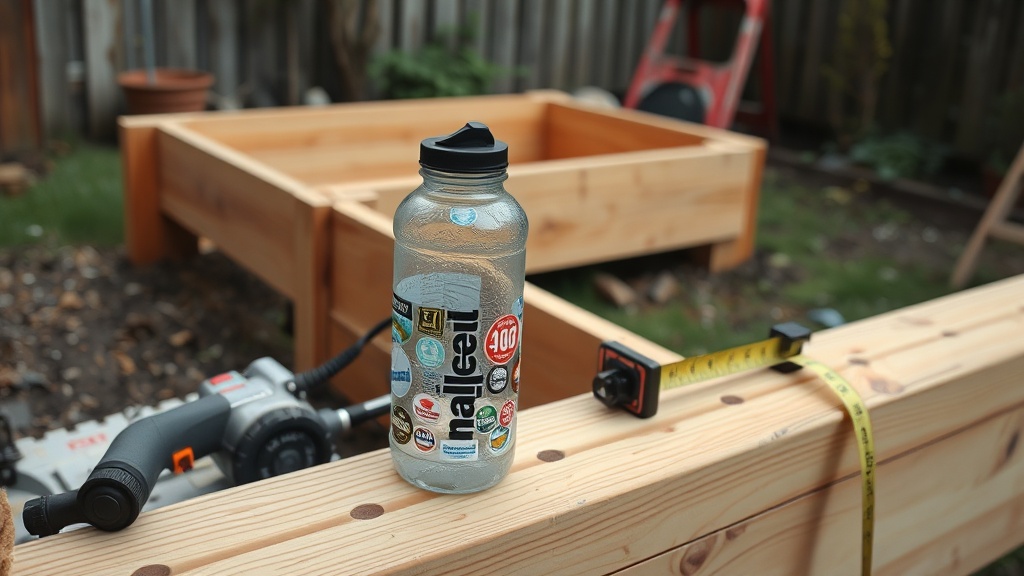
1. Cut and Prep
Keep the logistics simple. Cut one of the 2×12 boards exactly in half. You now have two 8-foot sides and two 4-foot ends. Cut the 4×4 post into four 11-inch corner blocks.
2. Assembly
Stand the 4×4 corner posts upright on a flat surface. Attach the 8-foot boards to the outside of the posts, using two or three screws per corner. Then attach the 4-foot end boards to complete the box.
Vibe Check: Pre-drill your screw holes. Cedar is brittle at the ends, and driving a screw straight in will split the board, completely compromising the structural integrity of your build.
3. Leveling the Ground
Drag the assembled frame to your designated spot. Use a level—aim for within an inch of level across the entire 8-foot span. It doesn't need to be pristine, but water pooling in one corner will ruin your root systems later.
4. The Weed Barrier
Layer cardboard heavily across the bottom of the bed, overlapping the edges by at least six inches. Wet it down with your hose (or a splash from The Tank). This smothers existing grass without relying on a plastic weed barrier that will eventually shred and leach microplastics into your soil.
The Soil Logistics: Mixing Your Own
Here is where people throw away their budget. Do not fill a premium cedar bed with cheap, bagged "garden dirt" from a big-box store.
You need roughly 29 cubic feet of material for this size bed. The most efficient formula is a 1-1-1 ratio known as Mel's Mix:
- 1/3 blended compost (source from a local municipal compost site or mix 3-4 different bagged varieties)
- 1/3 peat moss or coconut coir
- 1/3 coarse vermiculite
Mix it thoroughly on a tarp before shoveling it into the bed. The vermiculite keeps the mix incredibly airy, while the compost provides the baseline nutrients. It drains perfectly and will never compact.
Yes, the upfront investment is around $200. But progress over perfection means establishing a sustainable baseline. You are building durable infrastructure that will yield returns for a decade. Stop waiting for the perfect spring day, grab a circular saw, and get your basecamp operational.